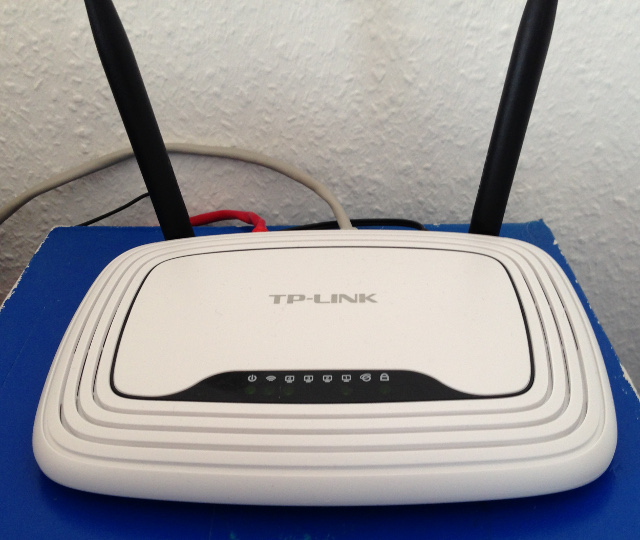
For me as a IT professional providing wireless access even at home WPA2-Enterprise access is the way to go. However, WPA2-Enterprise enabled devices are usually quite expensive. A cheap but great solution is using a OpenWRT supported hardware. As of this writing, selection for the hardware fell on the TP-Link TL-WR841N router (Version 9.2) which was available at around 19€. Prerequisite of course is to have a radius server like freeradius available in your home network.
1. Step: Downloading the right image from https://openwrt.org/
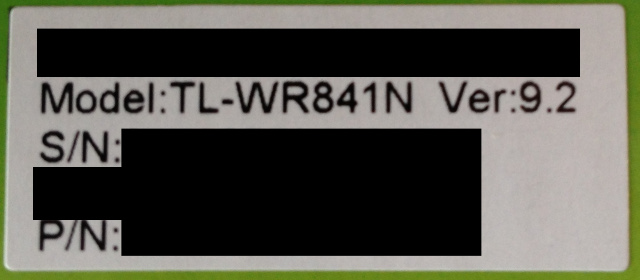
The version number of the router can be found on the bottom of the box. My router is a version 9.2 which corresponds to the v9 image provided by OpenWrt. Please check the hardware page to see which image is right for you version.
2. Step: Connect to the router
Add power and network cables to the router and connect the network cable to your computer. Power up the router with the on/off switch on the back and configure your computer to listen on a 192.168.0.x address eg. via ifconfig eth0 192.168.0.3 up. Next point your favorite web browser to http://192.168.0.1 and login (default admin:admin).
3. Step: Install OpenWrt
Select System Tools -> Firmware Upgrade in the menu and use Choose File to select the downloaded OpenWrt image. Before pressing Upgrade be sure you want to go ahead. This may void your warranty or brick your router. No responsibility taken… If you go ahead OpenWrt installation will take around 1 minute to complete. The router will restart on its own. If anything goes wrong read about debricking your router.
4. Step: Access the OpenWrt web frontend
Configure your computer to listen on a 192.168.1.x address eg. via ifconfig eth0 192.168.1.3 up and point your browser to http://192.168.1.1. You will be greeted by LuCI – the OpenWrt Lua Configuration Interface. Login via root without password and make sure to follow the announced link and set a password for the root user. While at it take a look at the ssh options and select what reflects your needs. Hit Save & Apply to save what you have configured.
5. Step: Dumb access point configuration
If your network provides dhcp, as mine does, there is no need for the access point to do this as well. Therefore some services can be disabled/removed. Switch to System -> Startup and disable odhcpd and dnsmasq. Next switch to Network -> Interfaces and select the LAN interface by hitting edit. Change the configuration of the device to your needs. For me this is DHCP client. Confirm what you are doing by hitting Switch protocol. If you want your access point to have a static ip teach your dhcp server the mac address for the LAN/br-lan interface as displayed. If you feel confident hit Save & Apply to save the settings.
Now got to System -> System and set the hostname and time options to your needs.
6. Step: Install WPA2-Enterprise support
Next go to System -> Software and select Update lists. This will refresh the package lists. Now Remove wpad-mini and other packages you dont’t want/need. Next install wpad via Available packages.
7. Step: Setup WPA2-Enterprise wifi
Browse to Network -> Wifi and hit Edit on radio0. Go to Advanced Settings and adjust the regulatory information as needed. Go back to General Setup and select the channel you want to use (or auto for automatic selection).
Next go to the interface configuration and select an ESSID for you network. Select Access Point as mode and go to the Wireless Security tab. Select WPA2-EAP as encryption an add your radius information as needed. Hit Save & Apply to save the settings. Now Enable the wireless network.
Enjoy your cheep and save WPA2 Enterprise WIFI!